
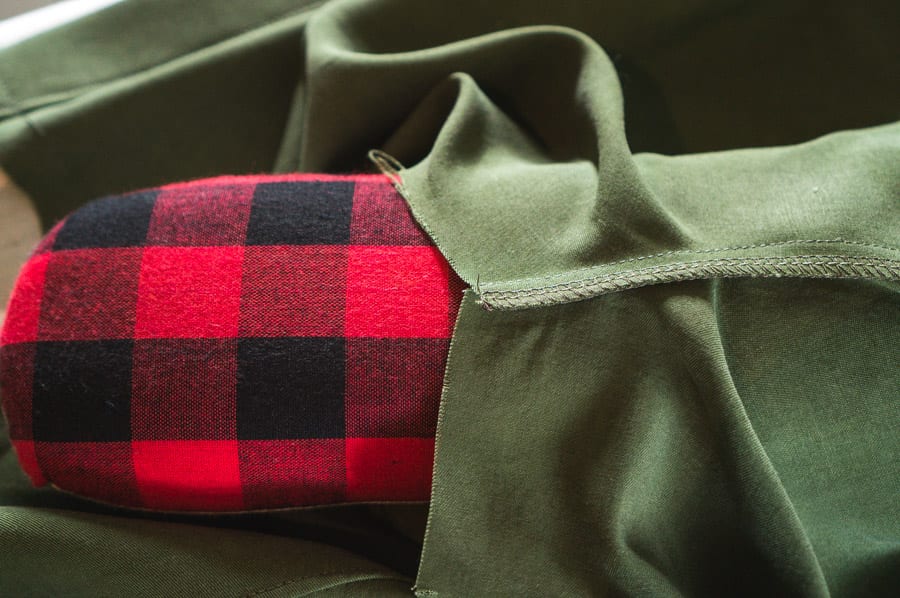
Ready for the next step in our Kalle Shirtdress sewalong? Last week we used the Burrito Method to neatly encase the shoulder seams in the yoke. Now it’s time to sew to assemble the shirt along the side seams and finish the hem. Technically you could finish the collar first, but I prefer to get the hem done at this stage in the game.
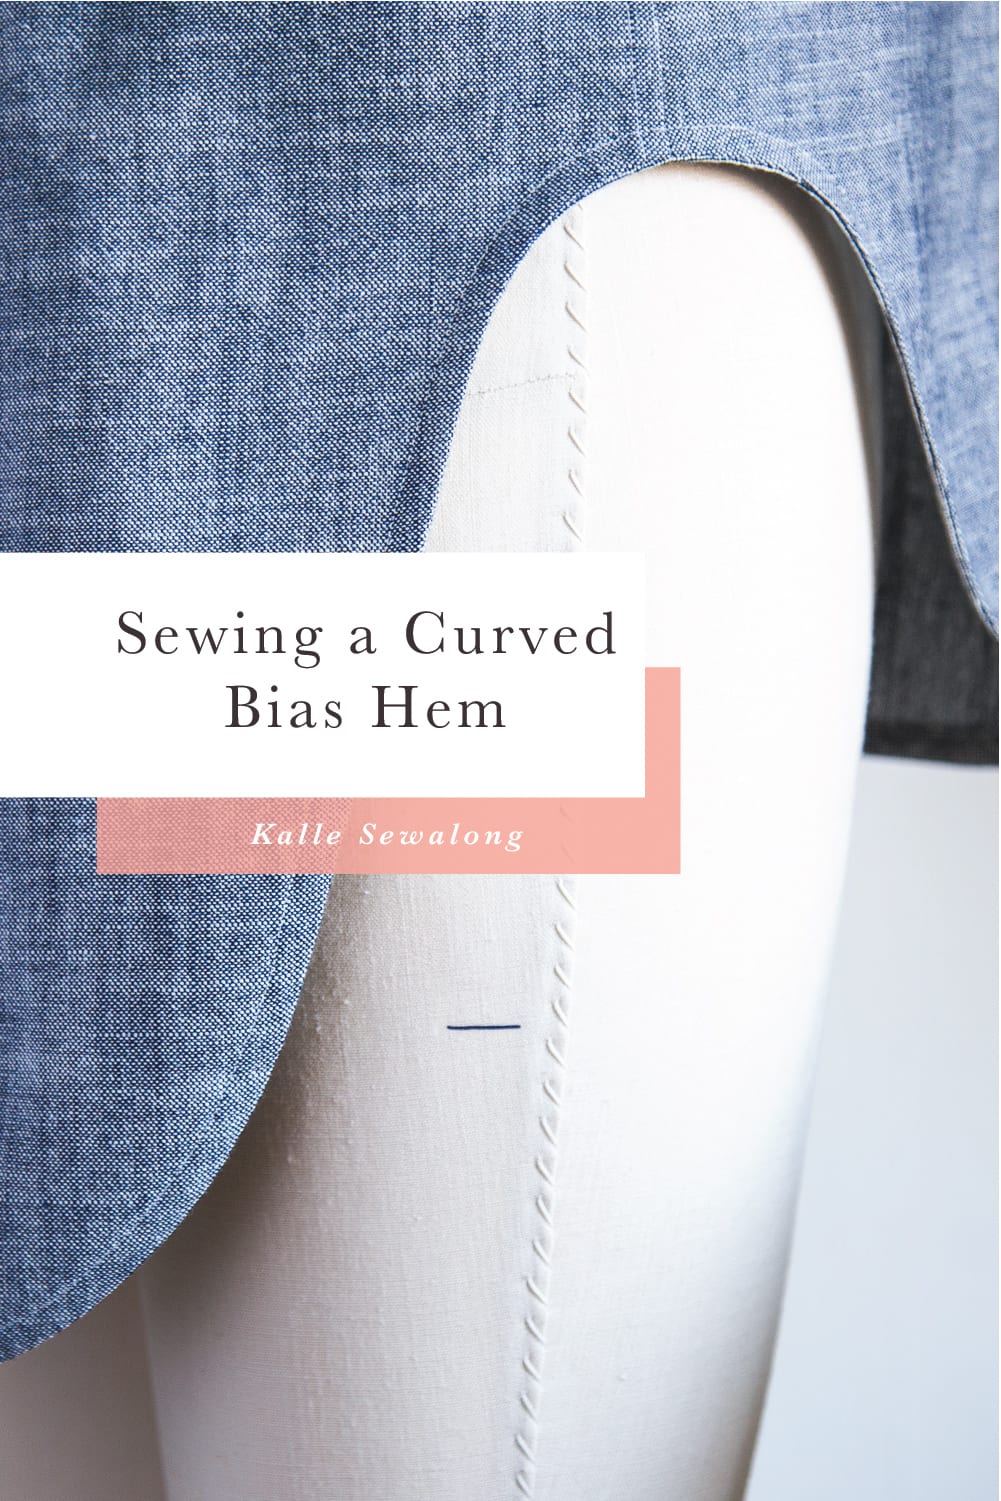
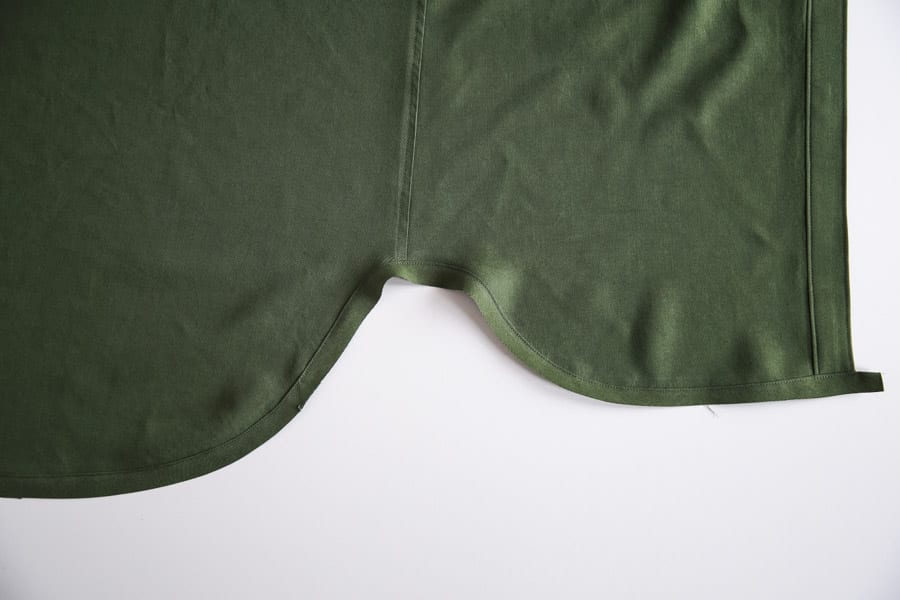
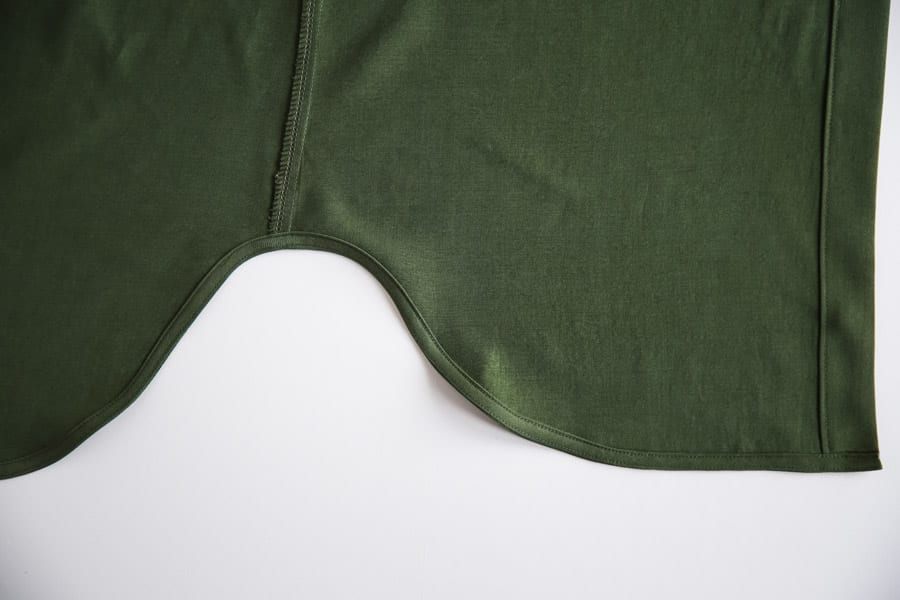
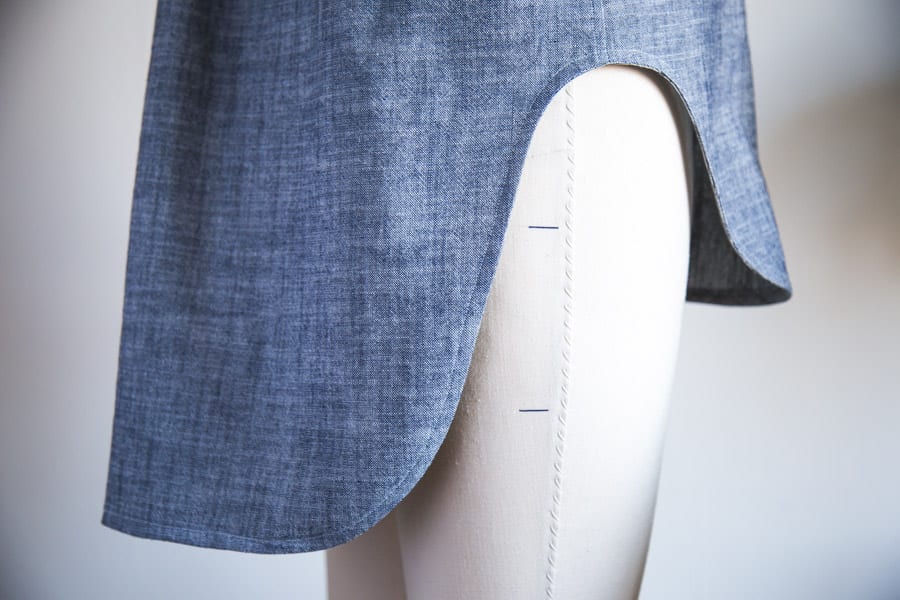
Today’s focus is on finishing an ultra curvy hem with bias tape. I tried a few different finishing methods when this pattern was in development, and ultimately bias tape gave the neatest finish. Feel free to use a baby hem if you prefer, but the bias tape will ensure you get a nice flat finish along the curviest bits. However, before we get cracking on the hem, we’ll need to sew and finish our side seams.
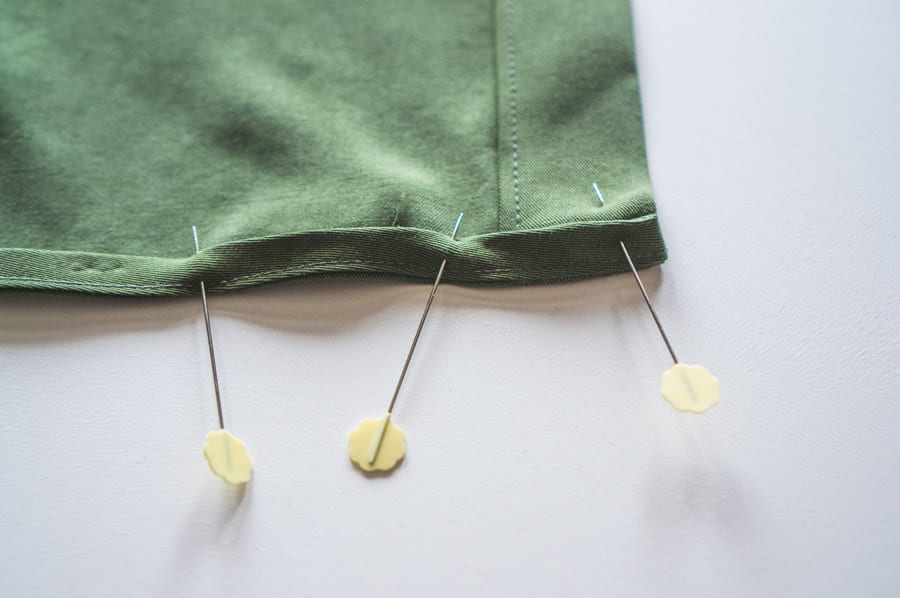
Start by lining up the side seams of front and back shirt and pining into place.
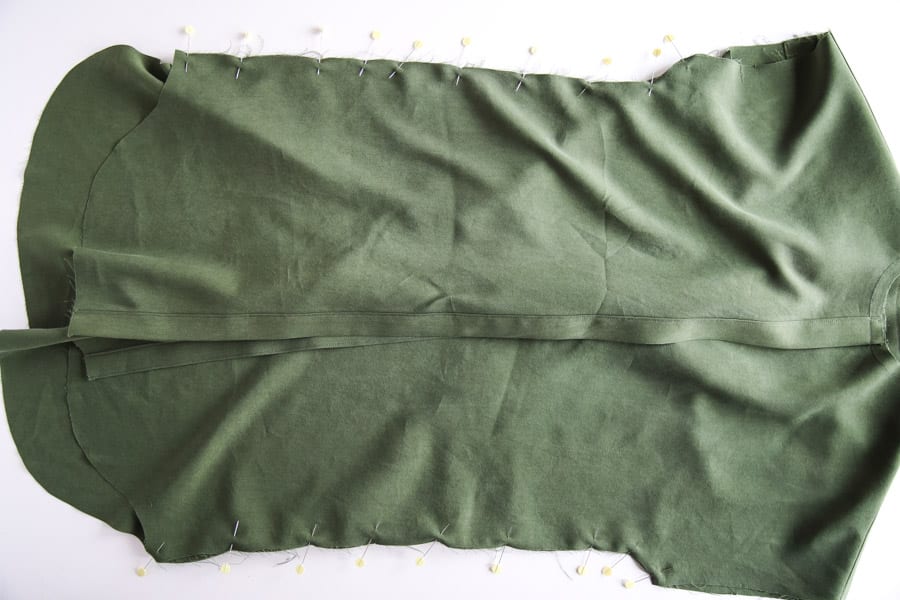
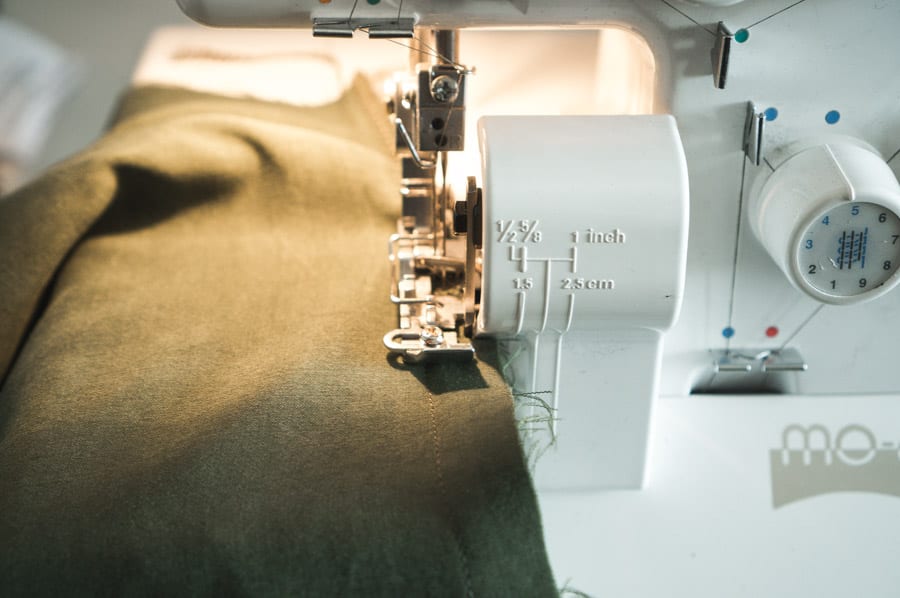
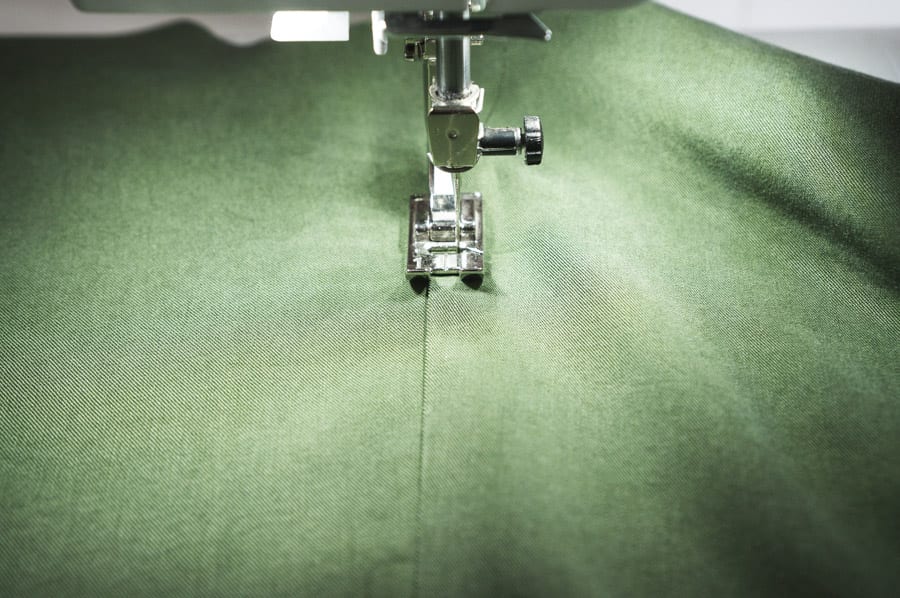
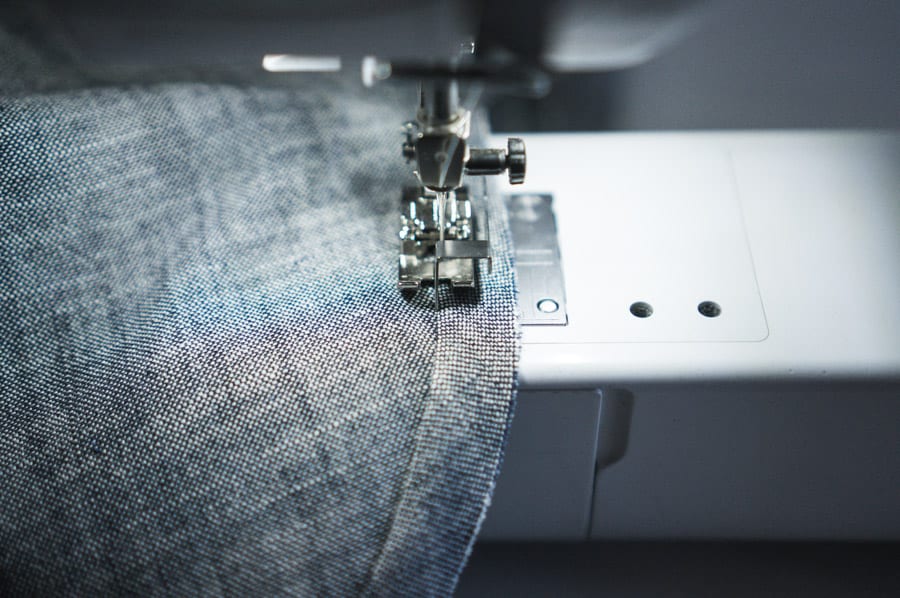
Stitch the seams at a 5/8″ seam allowance. Finish the seam by flat felling or serging. If serging, try to trim about 1/4″ off the seam.
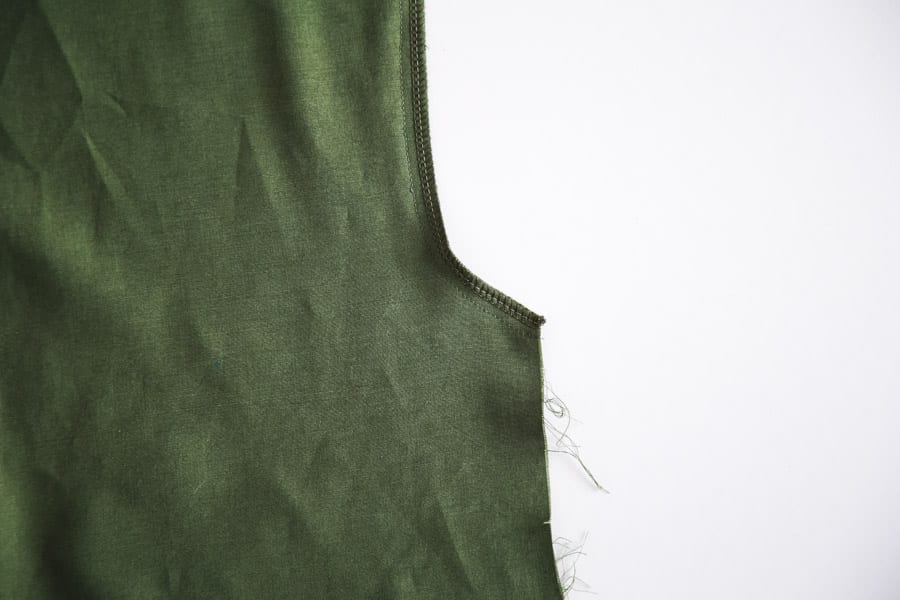
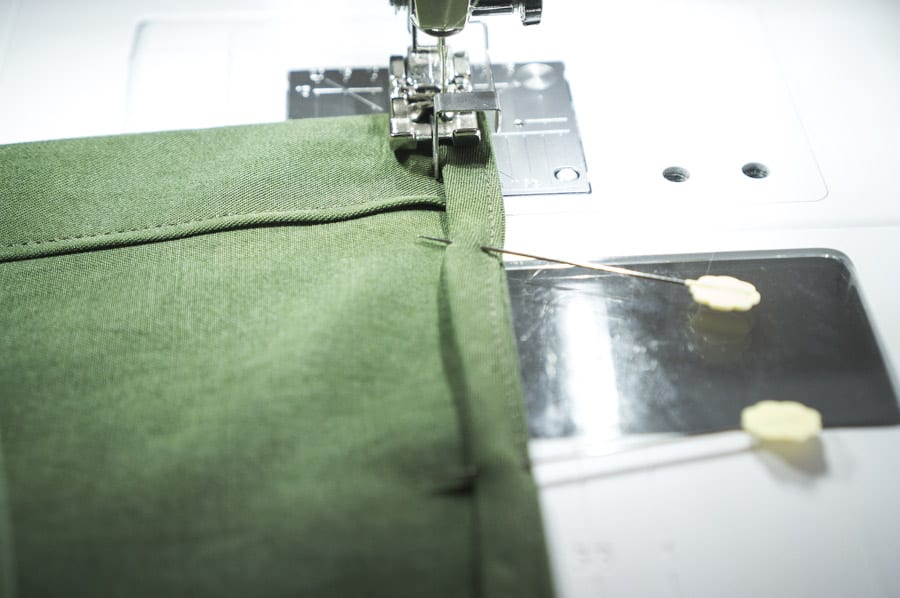
Press the seam to the back – use a tailors ham to press the curve flat under the arm opening. If you cannot get the curve to lay flat, you may need to clip to the original stitch line.
Topstitch the seam in place to secure.
With the side seams completed, it’s time to make the bias tape. You can use a matching fabric here, but don’t hesitate to use a contrasting fabric if you want a little flash of fun on the inside.
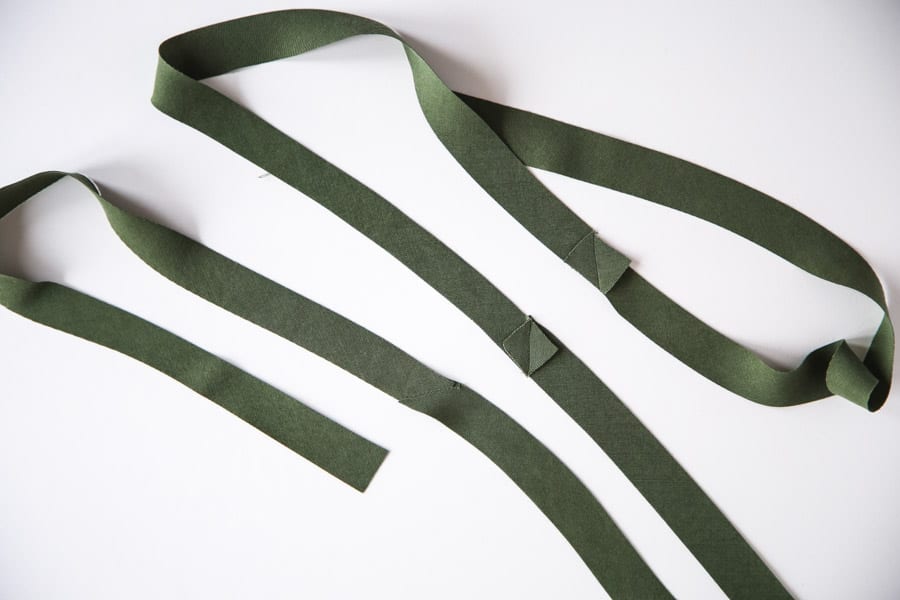
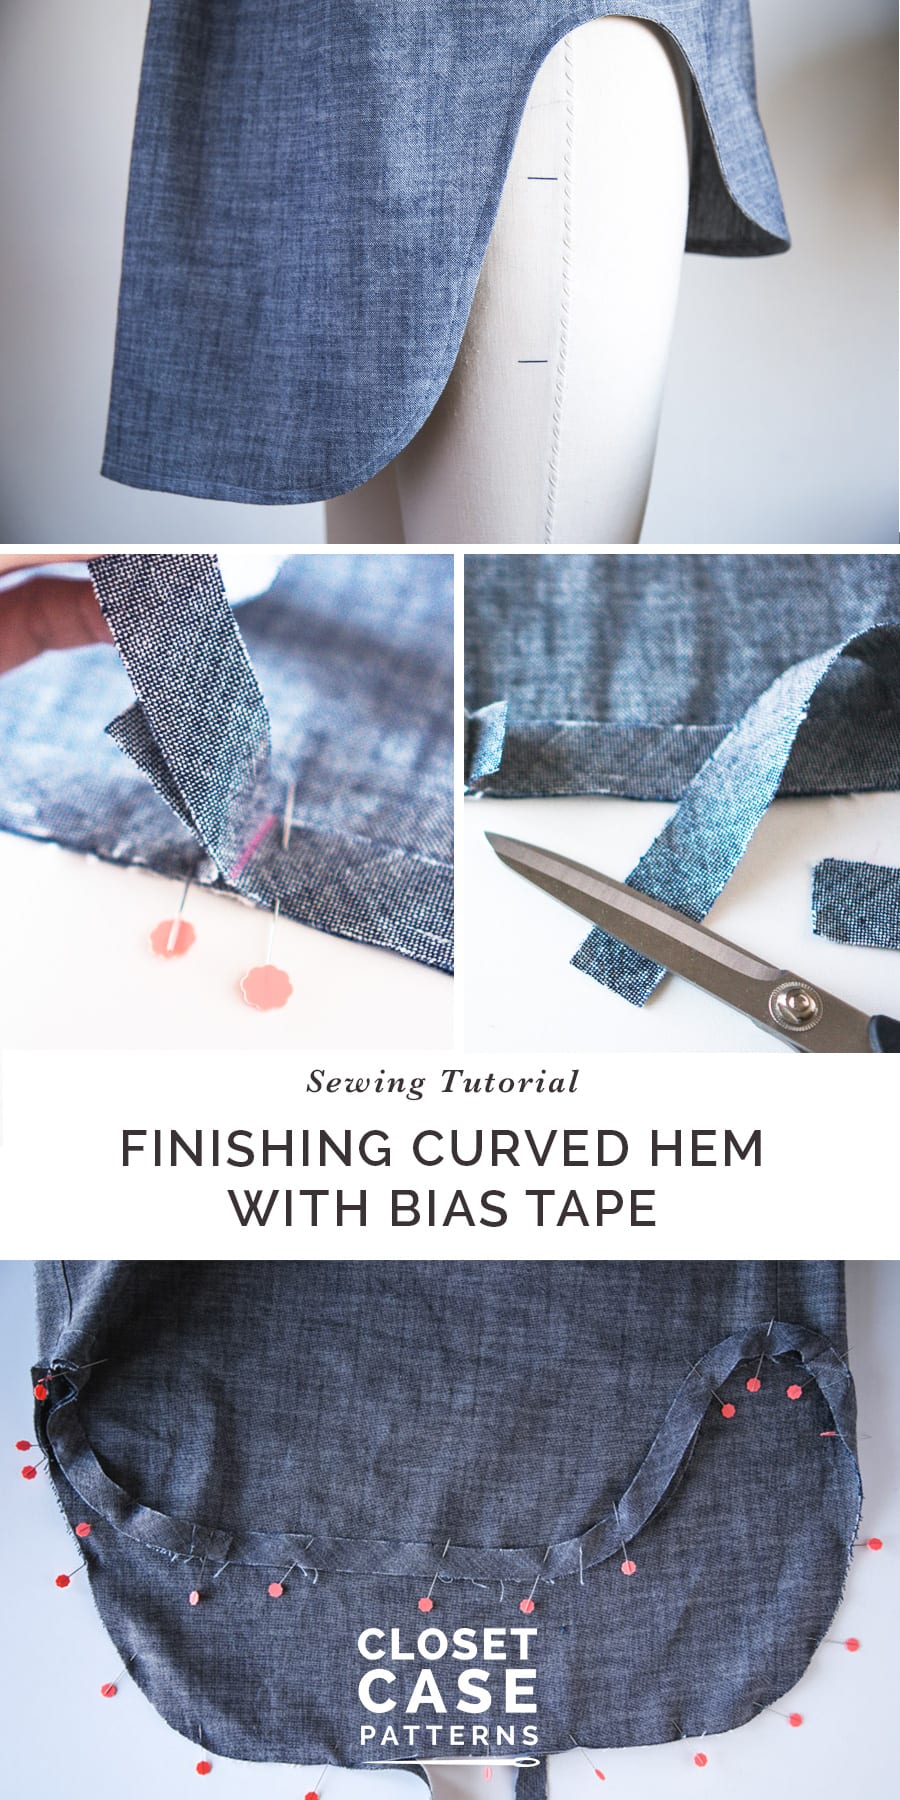
Join your bias strips into one long strip. This is accomplished by matching up the square ends of the bias tape, right sides together, at a 90 degree angle. Sew them together using a diagonal stitch – you may find it easier if you mark the sewing line with some chalk. You can also overlap the edges of the tape slightly so you ensure a nice, clean edge.
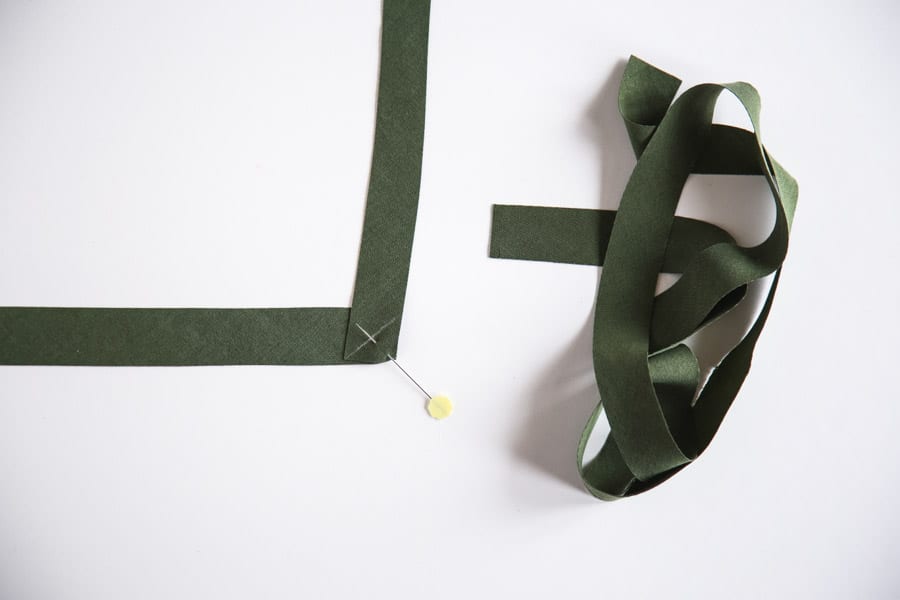
Press the seams open.
INSTALLING BIAS TAPE ALONG CONTINUOUS TUNIC HEM
If you are making the tunic with a popover placket, the bias tape needs to be installed in one continuous motion. To begin, pin the tape into place along the hem, right sides together. The seam of the bias tape should fall along the center back.
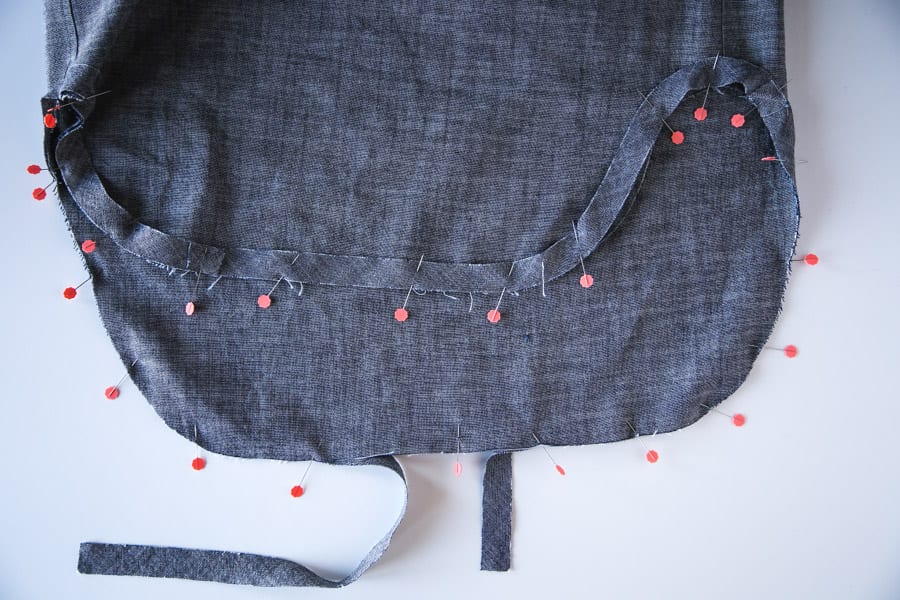
Continue pinning until the tape matches on either side. Mark the seam with chalk on both sides of the tape where it meets up along the hem.
Remove pins and stitch along this line. Press seam open.
INSTALLING BIAS TAPE ALONG REGULAR SHIRT FRONT
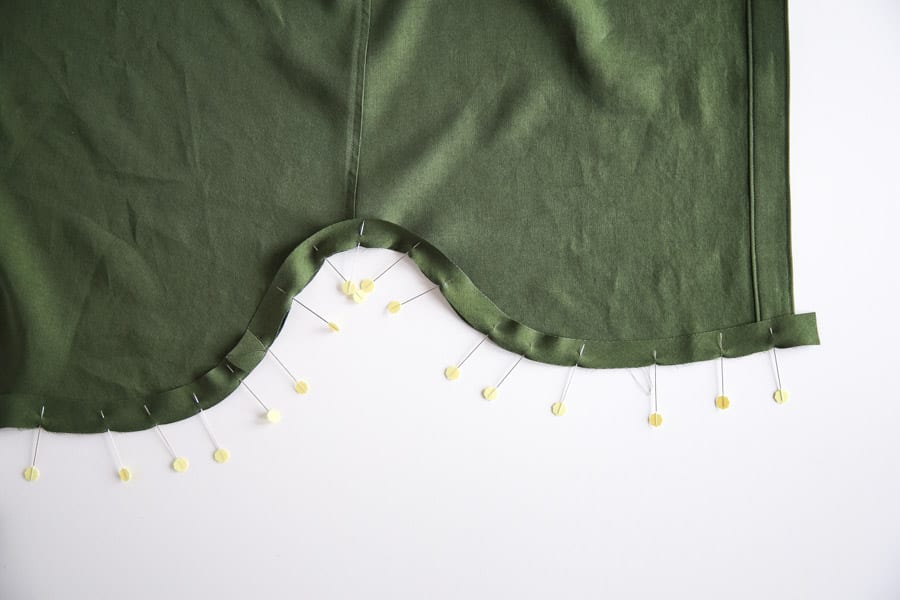
If the bias tape will end at the placket on right and left side of the shirt, pin into place along entire hem, right sides together, leaving at least 1/2″ extra hanging off each end.
SEWING BIAS TAPE HEM
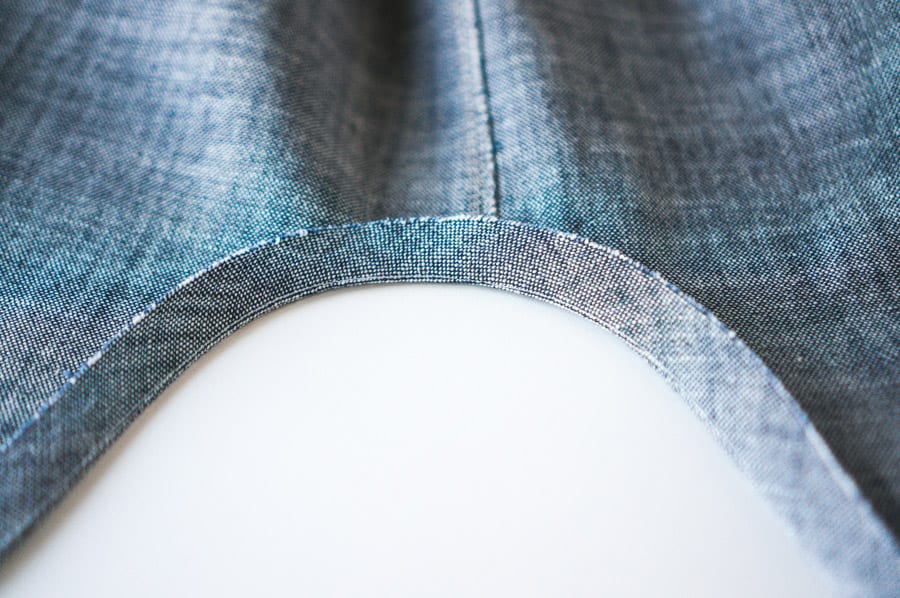
Stitch bias tape along entire hem at 1/4″ seam allowance. Press bias tape down. You may gently grade the seams if your fabric is very thick. Understitch the shirt hem to the bias tape, 1/8″ away from the seam line. Use your edgestitch foot if you have one – it helps you get consistent stitching at this step.
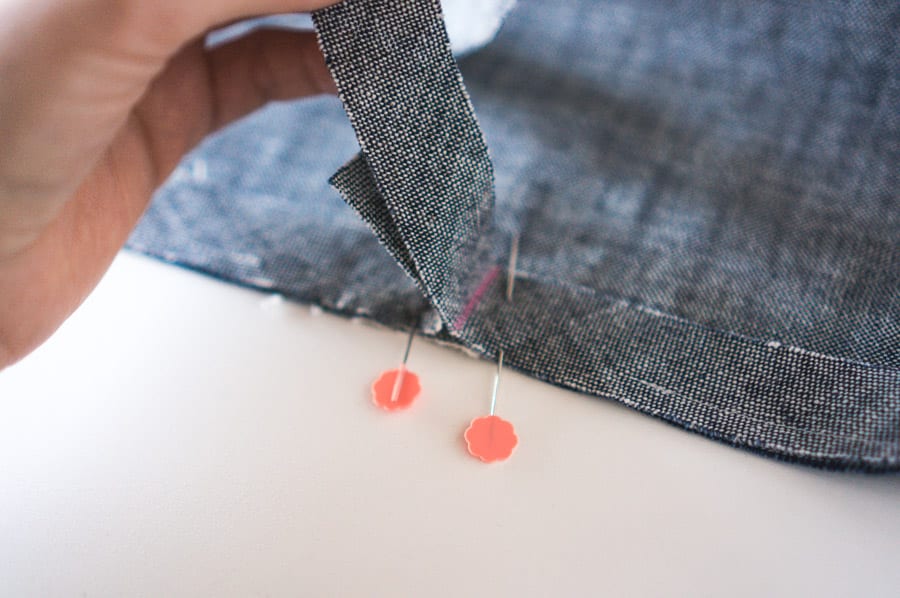
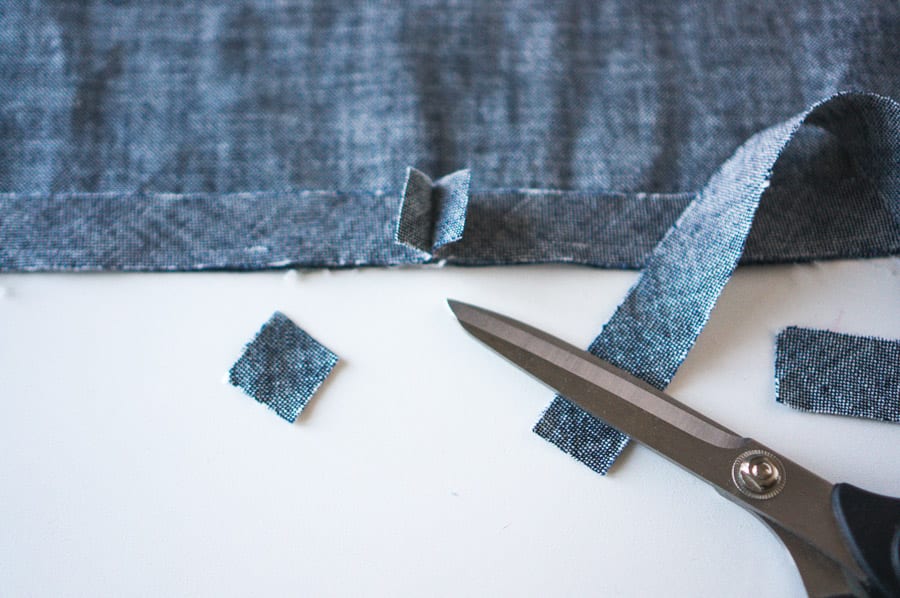
If you’re sewing the regular shirt, you’ll still have a little bit extra hanging off the placket after you’ve understitched.
Now press the bias tape up. Be careful around the curves – ensure you press smoothly here, and try to keep the folded over bias tape a consistent width.
Press the raw edge under about 1/4″. I find it will wrap nicely around the hem of the shirt. You can pin the hem into place, but I love using wonder clips here; they really anchor the seam securely.
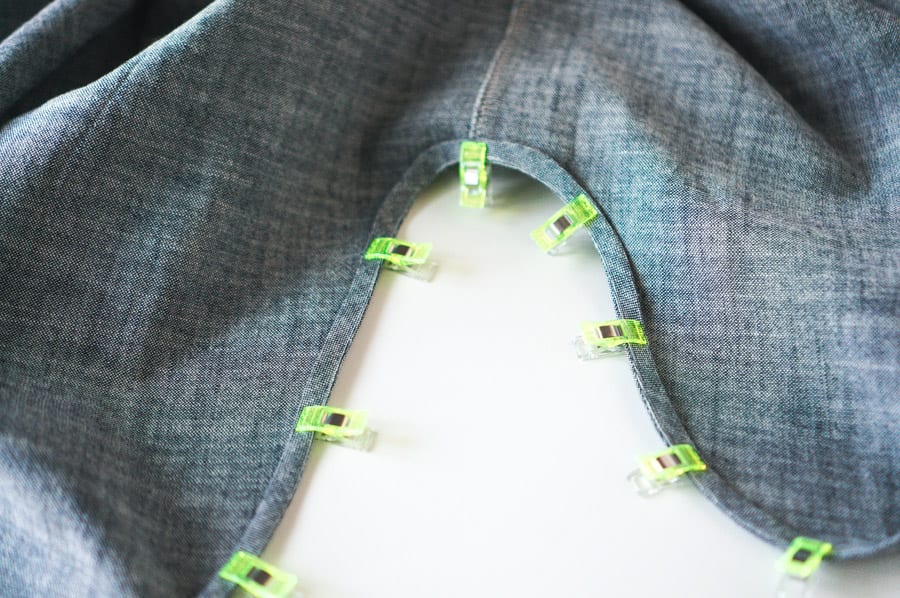
If you’re sewing the shirt, tuck the little raw edge under at each side, so it’s in line with the placket.
Stitch the hem in place about 1/4″ from the edge. I find it’s easier to do this from the wrong side so you can ensure you’re catching the bias tape in your stitching.
Give the entire hem a really good press with lots of steam so all the curves lay nice and flat.
And that’s it! I’ll be back later this week with a post on sewing the faced hem of the cropped View A.
See all posts in our Kalle Sewalong series. Get the pattern here.


